How are Roof Bars installed?
Roof bar installation on a truck involves mounting a stainless steel structural bar across the top of the cab using model-specific brackets, then routing and wiring any auxiliary or position lights through a properly fused electrical circuit. When done correctly, it improves road visibility, adds a professional appearance, and creates a solid platform for additional lighting. This guide covers everything from definitions to wiring.
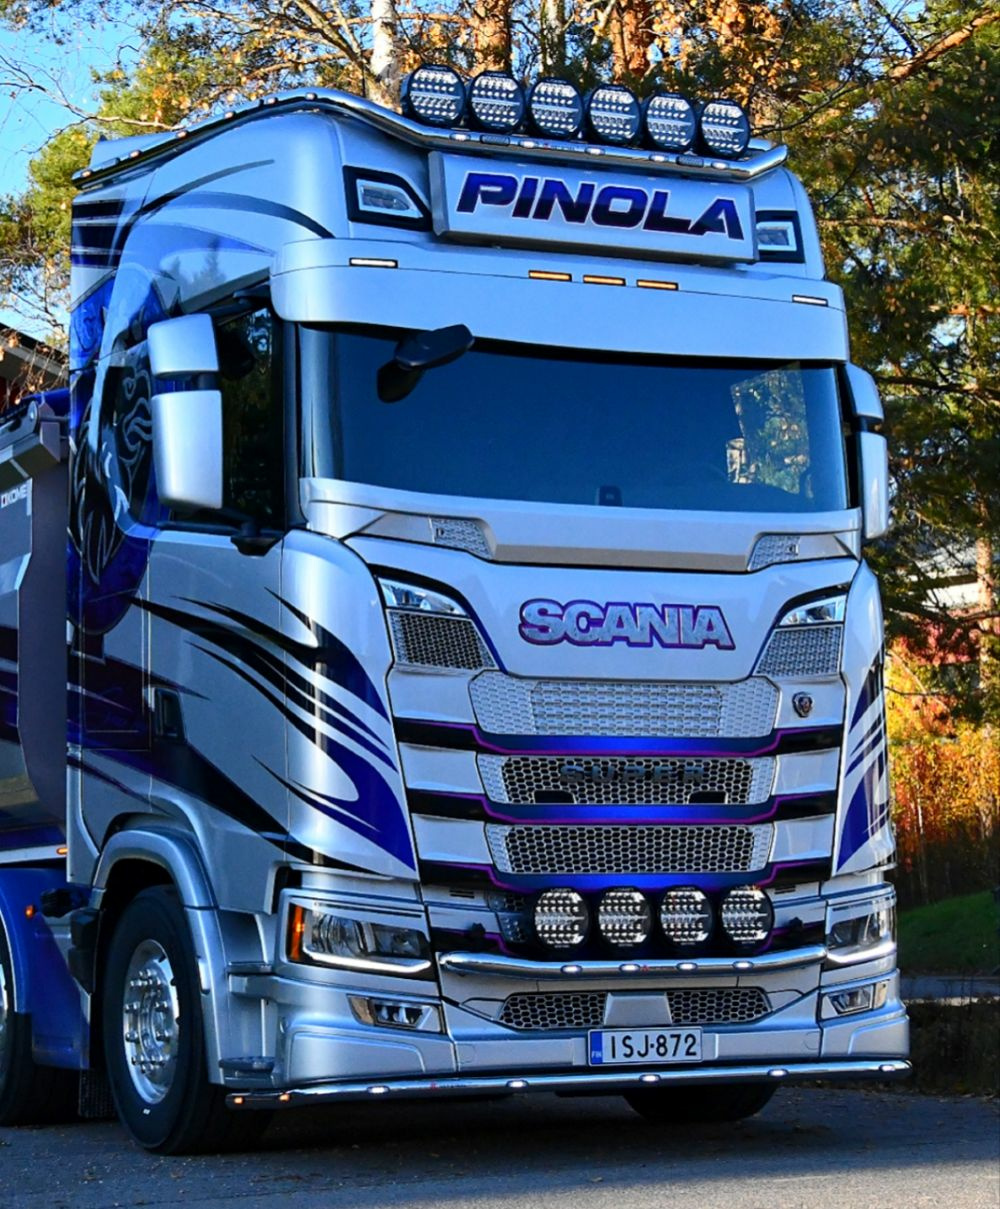
What are roof bars and why do professional truck drivers use them?
Roof bars are stainless steel accessories mounted along the top of a truck cab, designed to serve two practical purposes: enhancing the vehicle’s visual profile and providing a rigid, reliable platform for auxiliary lights, position lights, and work lights. They follow the roofline geometry of the cab and are engineered for specific truck models to ensure a clean, secure fit.
For professional and long-haul drivers, a roof bar is more than an aesthetic choice. Mounting auxiliary lights at cab height significantly extends forward visibility on unlit roads, which is crucial on early morning runs or remote routes. Position lights fitted to the bar also improve lateral visibility, making the vehicle more noticeable to oncoming traffic.
Beyond safety, roof bars contribute to brand presence. A well-fitted stainless steel roof bar gives any truck a purposeful, professional look that reflects the driver’s and company’s standards on the road.
What tools and preparations are required before installing a roof bar?
Before any physical installation begins, you need the right tools and a clear understanding of your truck’s cab structure. Typical requirements include a torque wrench, appropriate drill bits for cab penetration, cable routing tools such as fish tapes or conduit guides, weatherproof sealant, and a corrosion-inhibiting compound for metal-to-metal contact points.
Pre-installation checks are equally important. Inspect the cab roof for any existing damage, rust, or deformation that could compromise bracket integrity. Confirm that the brackets supplied with the roof bar are compatible with your specific truck model, as fitting variations exist across Scania, Volvo, DAF, Mercedes-Benz, and MAN platforms.
Review the manufacturer’s fitting instructions in full before touching the vehicle. Position the truck on level ground, apply the handbrake, and disconnect the auxiliary battery circuit if any electrical work is planned. These steps help prevent errors that are far harder to correct once the bar is in place.
How are roof bars physically mounted and secured to a truck cab?
Mounting a roof bar correctly means using the cab’s factory-approved or reinforced mounting points, never improvised locations. Identify these points from the fitting guide, as they vary between truck generations. On many modern cabs, dedicated threaded inserts or pre-drilled reinforcement zones are built into the roofline specifically for accessory mounting.
Align the bar carefully against the cab’s roofline before tightening any fasteners. Small misalignments at this stage become permanent once torqued down. Apply a corrosion-inhibiting compound between the bracket base and the cab surface to prevent galvanic corrosion, particularly where stainless steel meets painted steel.
Torque all fasteners to the values specified in the fitting instructions. Under-torquing risks movement at speed; over-torquing can deform cab panels or strip threads. Once fully tightened, apply physical pressure to the bar in multiple directions to confirm there is no flex or movement. Seal any penetration points with weatherproof sealant rated for exterior automotive use.
How do you wire auxiliary and position lights fitted to a roof bar?
Wiring lights on a roof bar requires proper cable selection, clean routing, and a fully protected circuit. For auxiliary driving lights, use cable gauges appropriate to the total load, typically 4mm² to 6mm² for high-output LED bars. Position lights draw less current and can use lighter gauge cable, but all cables must be rated for exterior conditions.
Route cables through the cab headliner where possible, using existing grommets or carefully sealed new penetrations to avoid water ingress. External conduit is an alternative on some cab configurations, but it must be secured against vibration along its full length.
Connect auxiliary lights through a dedicated relay and fuse, not directly to an existing circuit. This protects both the lights and the vehicle’s wiring. Position lights can often connect to the vehicle’s existing sidelamp circuit, but always verify current draw compatibility. Waterproof all external connectors using heat-shrink sealant or IP67-rated connectors. Before closing up any panels, test polarity and function for every light fitted to the bar.
A properly installed roof bar with correctly wired lighting makes a genuine difference to road safety and professional appearance. If you want a turnkey result with no compromise on materials or finish, RST-Steel manufactures and fits stainless steel roof bars for the most common truck brands, handling everything from bracket selection to final wiring. Contact us to discuss fitting options for your vehicle.