How to Install a Bull Bar
Installing a bull bar requires careful planning and the right tools. The process begins with marking the attachment points on the vehicle’s frame, followed by securing the bull bar using the manufacturer’s specified bolts and torque settings. For professional drivers, professional installation is recommended to ensure both safety and warranty coverage.
Bull Bar Installation – What Professional Drivers Need to Know
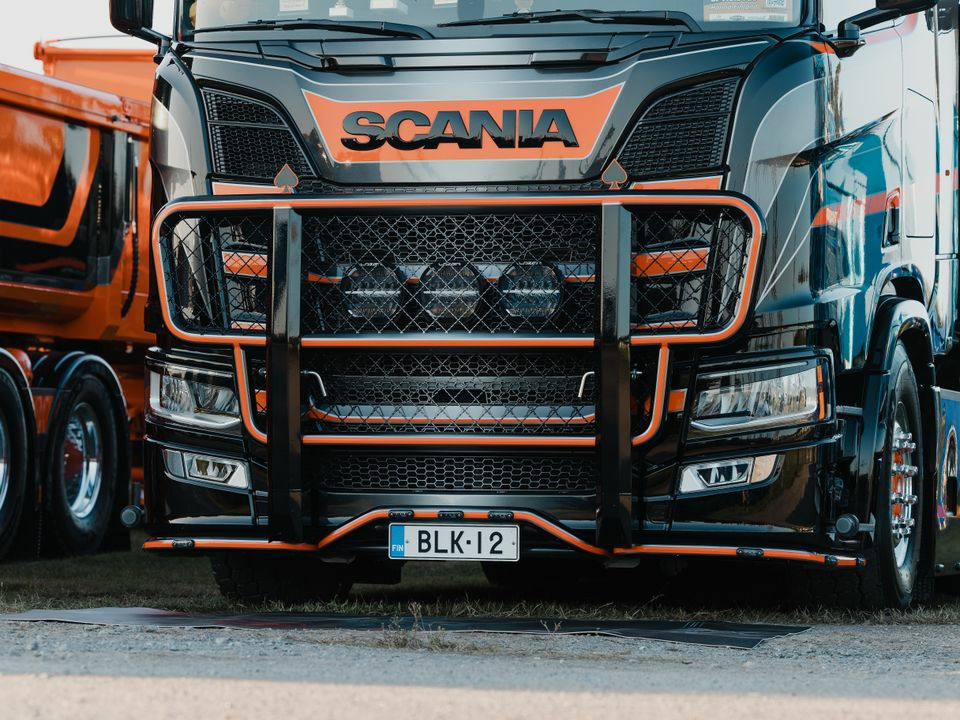
Installing a bull bar is a critical safety task that demands precision and expertise. In work vehicles, the bull bar protects the front of the vehicle during collisions and improves visibility on the road.
The installation process always starts by reviewing vehicle-specific instructions. Every vehicle is different, and attachment points vary significantly. Professional drivers must understand that an incorrectly installed bull bar can compromise the vehicle’s structural integrity.
Proper installation ensures that the bull bar distributes collision energy evenly across the vehicle frame. This is especially important for heavy-duty vehicles, where loads and operating conditions impose additional demands.
Tools Required for Bull Bar Installation
A combination of standard and specialized tools is necessary to ensure a safe and secure bull bar installation. Using the correct tools is essential for a professional result.
Specialized tools often include:
-
Hydraulic jack for lifting the vehicle
-
Special wrenches for manufacturer-specified fasteners
-
Safety equipment for secure work
How to Safely Attach a Bull Bar to a Vehicle
Safe attachment of a bull bar requires a step-by-step process, carefully checking each mounting point. The process always begins by raising the vehicle to a secure working height.
The installation procedure typically follows these steps:
-
Mark attachment points according to the manufacturer’s instructions
-
Drill holes to the correct depth if necessary
-
Position the bull bar and temporarily secure it
-
Perform final tightening to the specified torque
Torque settings must be followed precisely. Too loose a connection compromises safety, while overtightening can damage the vehicle frame or bull bar mounts.
When to Opt for Professional Bull Bar Installation
Professional installation is recommended whenever the vehicle is a work vehicle or the installation is complex. Professional installation guarantees proper results and preserves the vehicle warranty.
Key benefits of professional installation:
-
Correct tools and installation expertise
-
Warranty coverage for the installation
-
Safety assurance
-
Retention of the vehicle’s manufacturer warranty
Our three service centers provide skilled installation services, taking into account the specific needs of each vehicle. In heavy-duty fleets, professional experience is invaluable.
Bull Bar Installation – Key Safety Instructions and Maintenance Tips
Post-installation safety checks are essential to ensure the bull bar functions correctly. Regular maintenance significantly extends the life of the bull bar.
Essential safety and maintenance tips:
-
Regularly check the condition of all fasteners
-
Retighten bolts as necessary
-
Inspect the bull bar after any collisions
-
Maintain the stainless steel surfaces
The first inspection should take place after 1,000 km of driving. Thereafter, annual inspections are sufficient, or more frequent checks in demanding conditions. If you notice any looseness or damage, contact a professional immediately.
A correctly installed and well-maintained bull bar will serve professional drivers reliably for many years. Investing in quality and professional installation ensures both safety and vehicle value preservation.
Explore Our Range
Explore our selection and contact us to find the bull bar that perfectly meets your needs.
