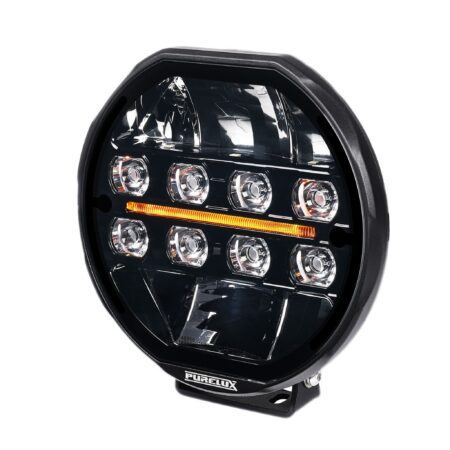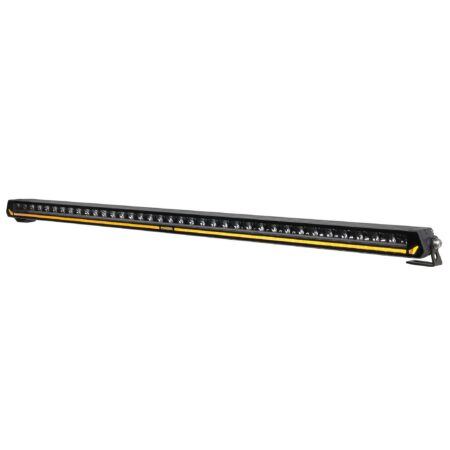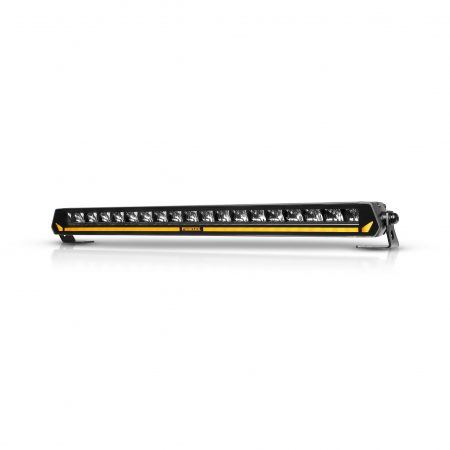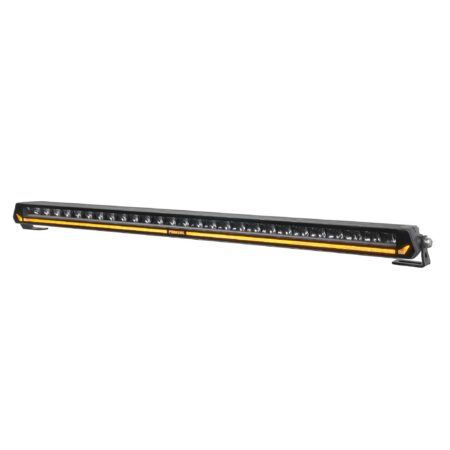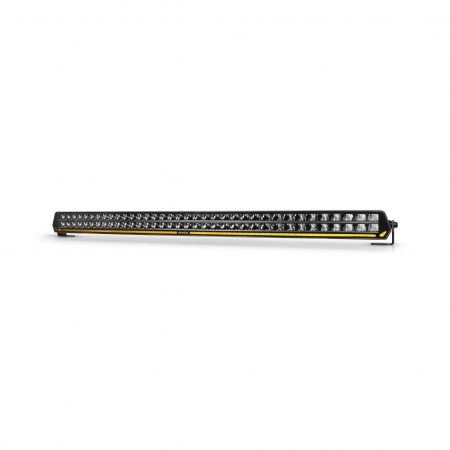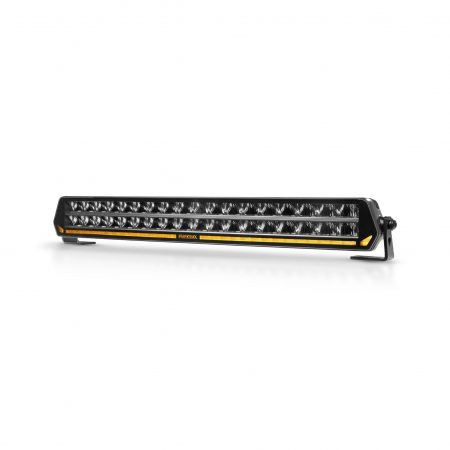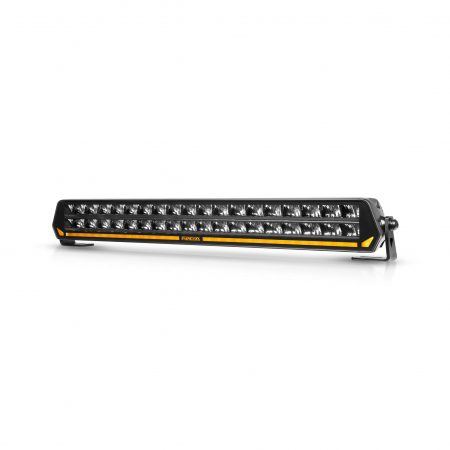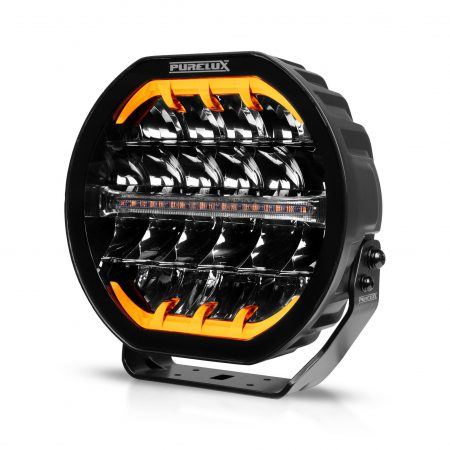
To install auxiliary lights safely, plan the mounting position first, then wire the lights through a relay with a fuse fitted close to the battery, ground to clean chassis metal, and trigger the relay from the high beam or a dashboard switch. Seal every connection, route wires away from heat and moving parts, then test and aim the lights. This process applies to cars and to both 12V and 24V truck systems.
Can you add extra lights to your car or truck?
Yes. Auxiliary lights can be added to cars and trucks provided the lights are road-approved for the market where the vehicle is used, and they are installed and aimed according to local rules and the manufacturer’s instructions. If you are unsure about the regulations in your area, check with a local authority or a qualified auto electrician before fitting any extra lights.
Tools and parts you need
Having the right tools and parts before you start makes the job safer and faster.
Tools: screwdrivers, spanners and sockets, drill, wire strippers, crimping tool, multimeter, heat gun.
Parts: relay, inline fuse holder and correctly rated fuse, automotive-rated wire, dashboard switch (if used), waterproof connectors, heat-shrink tubing, cable ties, rubber grommets, and suitable mounting accessories for your vehicle.
Use automotive-rated wire throughout. Waterproof connectors and heat-shrink tubing protect connections from moisture and vibration, which are the two most common causes of electrical faults on auxiliary light installations.
Where to mount auxiliary lights
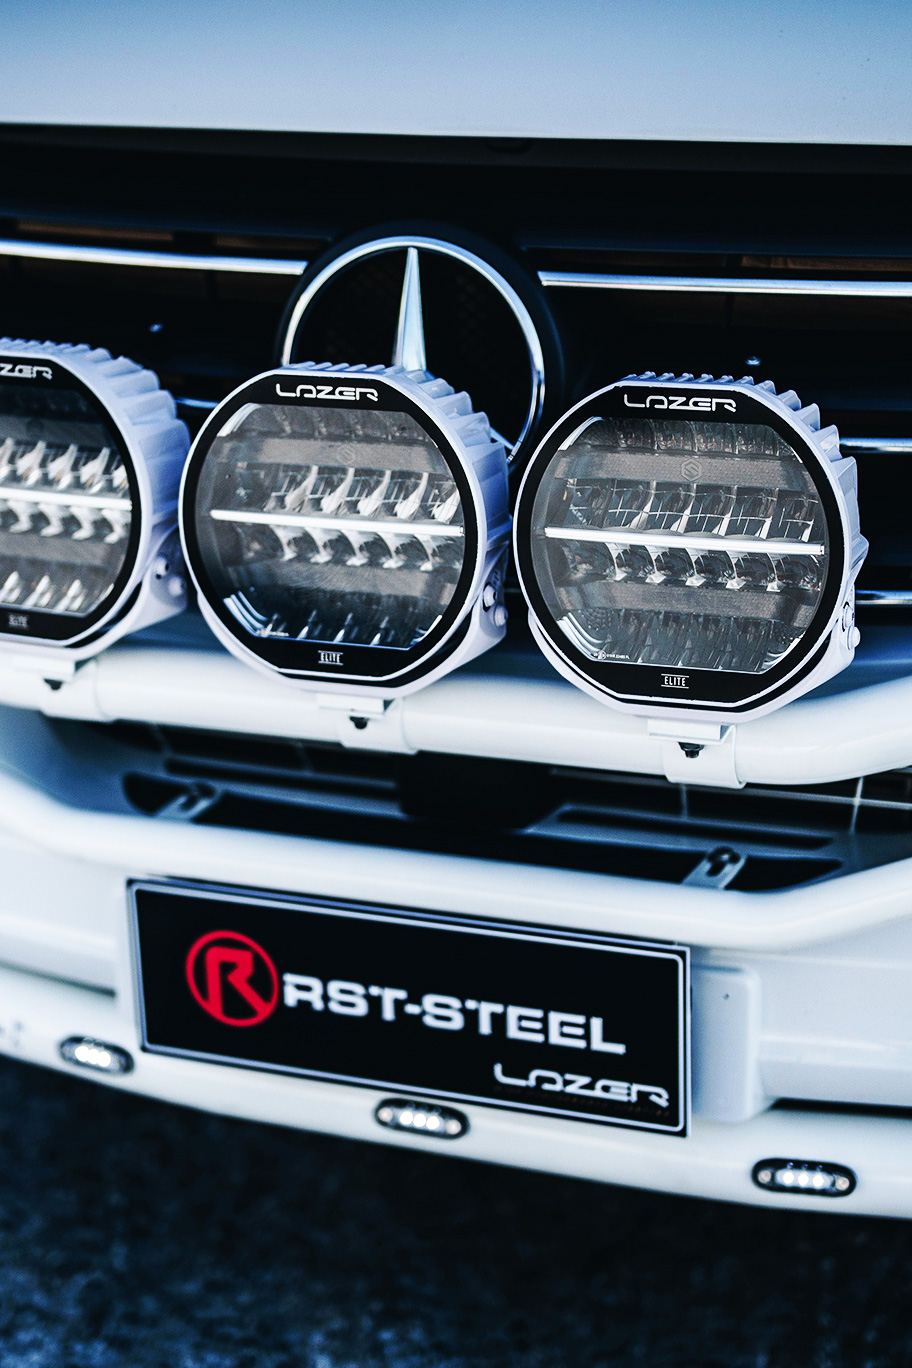
Common mounting positions include a bull bar, front bar, roof bar, or grille and bumper mounts. The right position depends on your vehicle and the type of lighting you need.
Whatever position you choose, the mounting point must be solid enough to handle continuous road vibration without flexing or loosening. The lights must not block the number plate, obstruct cooling airflow to the radiator, or prevent correct aiming. Always follow the light manufacturer’s instructions for the recommended mounting position.
- Front bars for trucks provide a strong, purpose-built mounting platform at the front of the vehicle.
- Roof bars for trucks allow lights to be positioned high for maximum range, though cable runs will be longer.
- Bull bars combine front protection with a solid mounting point for auxiliary lights.
How to wire auxiliary lights with a relay (step by step)
Wiring auxiliary lights with a relay is the correct method for any installation. The relay lets a small switched current control the higher current going to the lights, keeping the load off the vehicle’s original switch wiring. Follow these steps:
- Disconnect the battery negative terminal. Always do this before starting any electrical work on the vehicle.
- Mount the lights and the relay. Fix the lights in the chosen position. Mount the relay in a dry, protected location in the engine bay, away from heat sources.
- Run the power feed from the battery positive terminal through an inline fuse to relay terminal 30. Fit the fuse holder as close to the battery as possible. Size the fuse and wire for the current draw of the lights, following the light manufacturer’s wiring instructions.
- Connect relay terminal 87 to the lights’ positive wires. This is the output that supplies power to the lights when the relay is triggered.
- Ground the lights to clean, bare chassis metal or back to the battery negative. Remove any paint or corrosion from the grounding point to ensure a solid connection.
- Connect relay terminal 85 to ground. This completes the relay coil circuit.
- Connect relay terminal 86 to the trigger source. A common choice is the high-beam circuit so the auxiliary lights switch on with the main beam. A separate dashboard switch is also widely used. Check local rules on how auxiliary driving lights must be switched in your market.
- Seal all connections, route wires carefully, and use grommets. Apply heat-shrink to all joints, secure wires with cable ties away from heat and moving parts, and fit rubber grommets wherever wires pass through metal bodywork to prevent chafing.
- Reconnect the battery and test. Check that the lights switch on and off correctly with the trigger source and that there are no warning lights on the dashboard.
- Aim the lights. Adjust beam aim according to the manufacturer’s instructions and local rules before driving on public roads.
Simple wiring layout:
Battery + → fuse (near battery) → relay terminal 30 → relay terminal 87 → lights (+) → chassis ground
Trigger (high beam wire or dashboard switch) → relay terminal 86 ; relay terminal 85 → ground
Can you wire auxiliary lights directly to the car battery?
The power feed for auxiliary lights should come from the battery, but it must always pass through a fuse and a relay — never run a direct connection straight from the battery to the lights. Without a fuse in the power feed, a wiring fault or short circuit can start a fire before any protection trips. Without a relay, the full load of the lights runs through the vehicle’s original switch wiring, which is not designed to carry that current. A direct connection with no switch also means the lights cannot be turned off independently, which will drain the battery if the vehicle is left unattended. Always wire auxiliary lights through a relay with a fused power feed close to the battery.
Wiring auxiliary lights on a truck (12V vs 24V)
When you wire auxiliary lights on a truck, the first thing to confirm is the vehicle’s system voltage. Most cars and light vans run 12V systems, but heavy trucks commonly use 24V. Every component in the circuit — the relay, the switch, and the lights themselves — must be rated for the vehicle’s system voltage. Fitting 12V components to a 24V system will cause immediate failure and can create a fire risk.
Long cable runs are common on trucks, particularly when lights are mounted on a roof bar. Longer runs mean greater voltage drop, so wire size must be chosen to account for both the current draw and the cable length. Follow the light manufacturer’s wiring instructions for guidance on minimum wire size for your installation.
Where the truck manufacturer provides a dedicated connection point or wiring provision for extra lights, use it and follow the vehicle manufacturer’s instructions. Browse road-approved auxiliary lights suitable for trucks and cars.
Common installation mistakes
No relay in the circuit. Connecting lights directly to the original switch wiring puts excessive load on wiring that was not designed for it and can cause damage or fire.
Fuse missing or fitted too far from the battery. The fuse protects the wire between the battery and the relay. If it is placed far along the circuit, a long unprotected section of wire is left exposed to fault current.
Fuse or wire not sized for the load. An oversized fuse will not protect the wire. Undersized wire will overheat. Always size both for the actual current draw of the lights.
Poor ground connection. Grounding to a painted or corroded surface creates a high-resistance joint that causes flickering, overheating, and unreliable operation. Always ground to clean, bare metal.
Unsealed connectors. Moisture entering connections causes corrosion, intermittent faults, and eventual failure. Use waterproof connectors and heat-shrink on all joints.
Weak or incorrect mounts. Mounts that are not rated for the weight and vibration of the lights will work loose over time. Use purpose-made brackets and check fasteners regularly.
Wires chafing on sharp edges. Any wire routed through or near a metal edge without a grommet will eventually chafe through, creating a short circuit. Fit grommets at every penetration point.
Lights not aimed correctly. Incorrectly aimed auxiliary lights can dazzle oncoming drivers. Always aim the lights according to the manufacturer’s instructions and local rules after installation.
Frequently asked questions
Do I need a relay for auxiliary lights?
Yes. A relay is required for any auxiliary light installation. It allows a small trigger current — from the high-beam circuit or a dashboard switch — to control the higher current flowing to the lights, protecting the vehicle’s original wiring from overload. Skipping the relay risks overheating the switch circuit and can cause wiring damage or fire.
Where should the fuse go?
The inline fuse should be fitted in the power feed wire as close to the battery positive terminal as possible. This protects the entire length of wire running from the battery to the relay. A fuse placed further along the circuit leaves a section of unprotected wire that could cause a fire in the event of a short circuit.
Should auxiliary lights switch on with the high beam?
Triggering auxiliary driving lights from the high-beam circuit is a common and practical setup. It means the lights activate automatically with the main beam and switch off when you dip for oncoming traffic. However, local regulations vary on how auxiliary driving lights must be switched, so check the rules that apply in your market before wiring the trigger.
Can I install auxiliary lights myself?
A capable DIYer with basic automotive electrical knowledge can install auxiliary lights by following the relay wiring method described above and the light manufacturer’s instructions. If you are not confident working with automotive electrics, have the installation carried out by a qualified auto electrician to ensure it is safe and compliant with local requirements.
Choose road-approved auxiliary lights and the mounting solution that suits your vehicle, or contact us if you need help selecting the right products for your car or truck.